Installation Instructions
Installing your new motorized roller shades is a simple process that can be done in just a few steps. Follow our detailed instructions below, and you'll have your shades up and running in no time.
Tools You’ll Need
Before you begin, make sure you have the following tools on hand.
Measuring Tape
Measuring Tape
The measuring tape is used to determine the proper placement of the brackets for the shades.
Measure Window Width: To ensure the brackets are installed at the correct distance for your roller shades, you need to measure the width of your window or the area where the shades will be mounted. This helps determine if you are doing an inside or outside mount.
Marking the Drill Points: After measuring, you use the measuring tape to mark the precise points where the brackets will be installed. This ensures that the brackets are placed evenly, and the shades will hang straight and function properly.
Pencil
Pencil
The pencil is used to mark the positions where you will install the brackets for your motorized roller shades.
Mark Drill Points: After measuring the placement of the brackets with the measuring tape, you use the pencil to mark the exact spots on the wall or window frame where you'll need to drill holes. This ensures the brackets are positioned accurately and level.
Indicate Alignment: The pencil marks help indicate where the brackets should align horizontally and vertically, ensuring a balanced and professional-looking installation.
Level
Level
The level is used to ensure that the brackets for the motorized roller shades are aligned evenly and horizontally.
Ensure Straight Installation: A level helps you check that the brackets are perfectly horizontal. This is crucial for the shades to hang straight and operate smoothly without tilting or binding.
Prevent Uneven Operation: If the brackets are not level, the shades may not roll up or down evenly, which can cause operational issues and reduce the lifespan of the product.
Professional Finish: Using a level ensures a clean, professional appearance, with shades that align correctly with the window frame or wall.
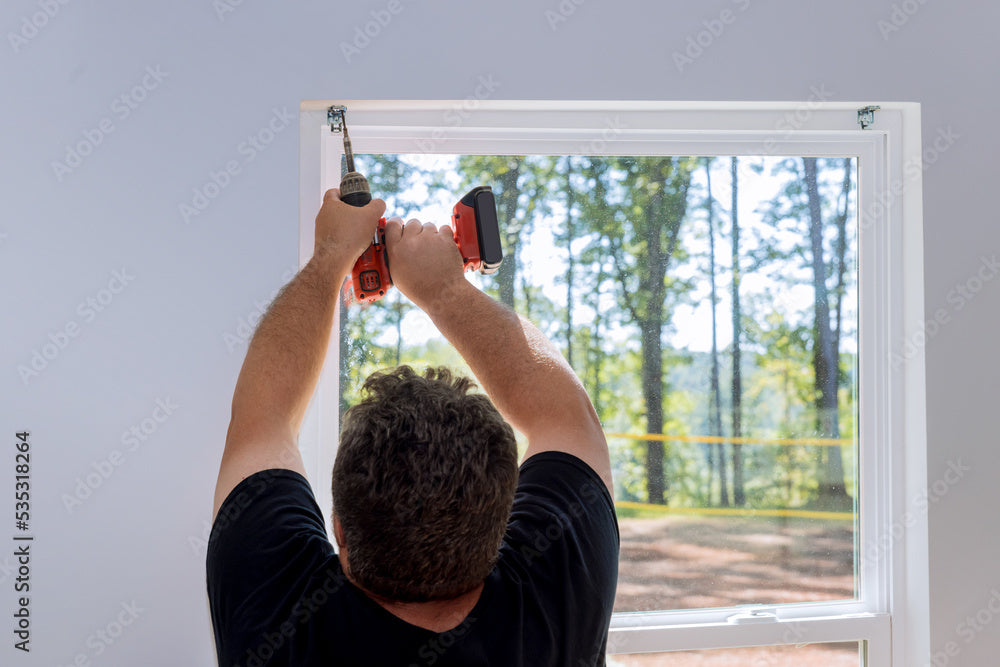
Power Drill with Drill Bits
Power Drill with Drill Bits
The power drill with bits is used to create the necessary holes for securing the brackets that hold the motorized roller shades.
Drill Pilot Holes: The power drill, equipped with the appropriate drill bit, is used to create pilot holes at the marked points on the wall or window frame. These pilot holes make it easier to drive screws into the surface and help prevent splitting or damage to the material.
Secure Brackets: After drilling the pilot holes, the drill can also be used to drive the screws into the wall or frame, securely fastening the brackets in place. This ensures that the shades are safely and firmly attached.
Efficient Installation: Using a power drill makes the installation process quicker and more efficient compared to manual tools, especially if you’re installing multiple shades.
Screwdriver
Screwdriver
The screwdriver is used to tighten and secure the screws that hold the brackets for your motorized roller shades.
Final Tightening: After initially driving the screws with a power drill, the screwdriver allows for precise final tightening. This ensures the screws are snug and secure without overtightening, which could damage the brackets or wall.
Adjustments in Tight Spaces: In some cases, there might be areas where the power drill can't easily reach or where finer control is needed. A screwdriver provides the ability to make adjustments or finish screwing in tighter or more delicate spaces.
Minor Adjustments Post-Installation: If the brackets need slight repositioning or adjusting after installation, the screwdriver can be used to loosen or retighten screws without needing to bring out the power drill again.
Step Ladder
Step Ladder
The step ladder is used to help you safely reach higher areas during the installation of your motorized roller shades.
Accessing High Mounting Points: If the shades are being mounted at the top of a tall window or near the ceiling, a step ladder allows you to comfortably and safely reach these elevated points to measure, mark, drill, and install the brackets.
Ensuring Accuracy: A stable step ladder gives you a better vantage point to ensure the brackets are level, evenly spaced, and properly aligned, which is crucial for the smooth operation of the shades.
Safe Installation: Using a step ladder reduces the risk of overreaching or standing on unstable surfaces, ensuring a safer installation process.
Screws and Anchors (provided in your shade kit)
Screws and Anchors (provided in your shade kit)
The screws and anchors provided in your shade kit are essential for securely installing the brackets that hold the motorized roller shades.
Screws:
- Securing Brackets: The screws are used to attach the brackets to the wall or window frame. They ensure that the brackets are firmly held in place, providing a stable support for the roller shades.
- Final Fastening: They provide the necessary strength to keep the brackets from moving or loosening over time, ensuring that the shades remain securely mounted.
Anchors:
- Support in Drywall or Hollow Walls: Anchors are used when installing brackets into drywall or hollow walls where screws alone may not hold securely. They expand inside the wall to provide additional support and prevent the screws from pulling out.
- Improved Stability: They distribute the load more evenly, making the installation more reliable and ensuring that the shades do not sag or shift.
Step-by-Step Installation Guide
Our guide provides clear, step-by-step instructions, helpful tips, and detailed illustrations to make the process simple and hassle-free. With just a few basic tools and a bit of time, you can enjoy the convenience and elegance of your new shades in no time!

Step 1: Unpack Your Shades
- Carefully unpack your shades and all components. Lay them out and check that all parts are included according to the Parts List.
- Identify the brackets, screws, remote control, and charging cable.

Step 2: Measure and Mark
- Measure the width of your window to determine the bracket placement. Use a level to ensure that the brackets are aligned evenly.
- Mark the drill points with a pencil where you will install the brackets.
Tip: For inside mounts, ensure there is enough clearance for the shades to operate. For outside mounts, extend the brackets beyond the window frame as needed.
Step 3: Install the Brackets
- Drill pilot holes at the marked points for the brackets.
- Secure the brackets to the wall or window frame using the screws and anchors provided. Make sure they are tightly fastened.

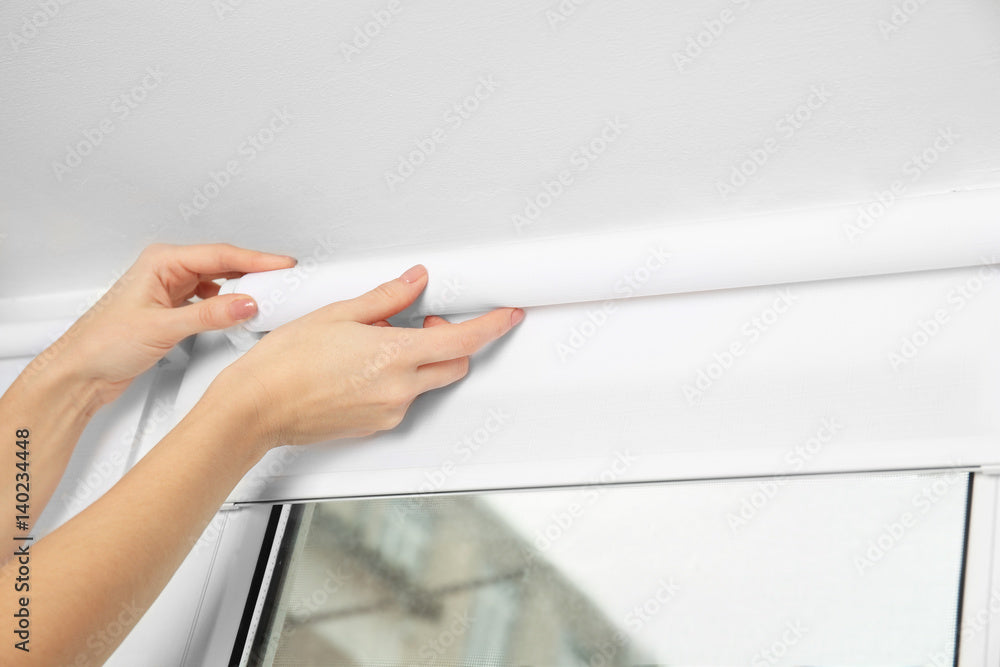
Step 4: Mount the Shade
- Insert the headrail of the shade into the brackets. Ensure the motor end is securely positioned in the motor bracket.
- Snap the shade into place, ensuring it clicks securely.
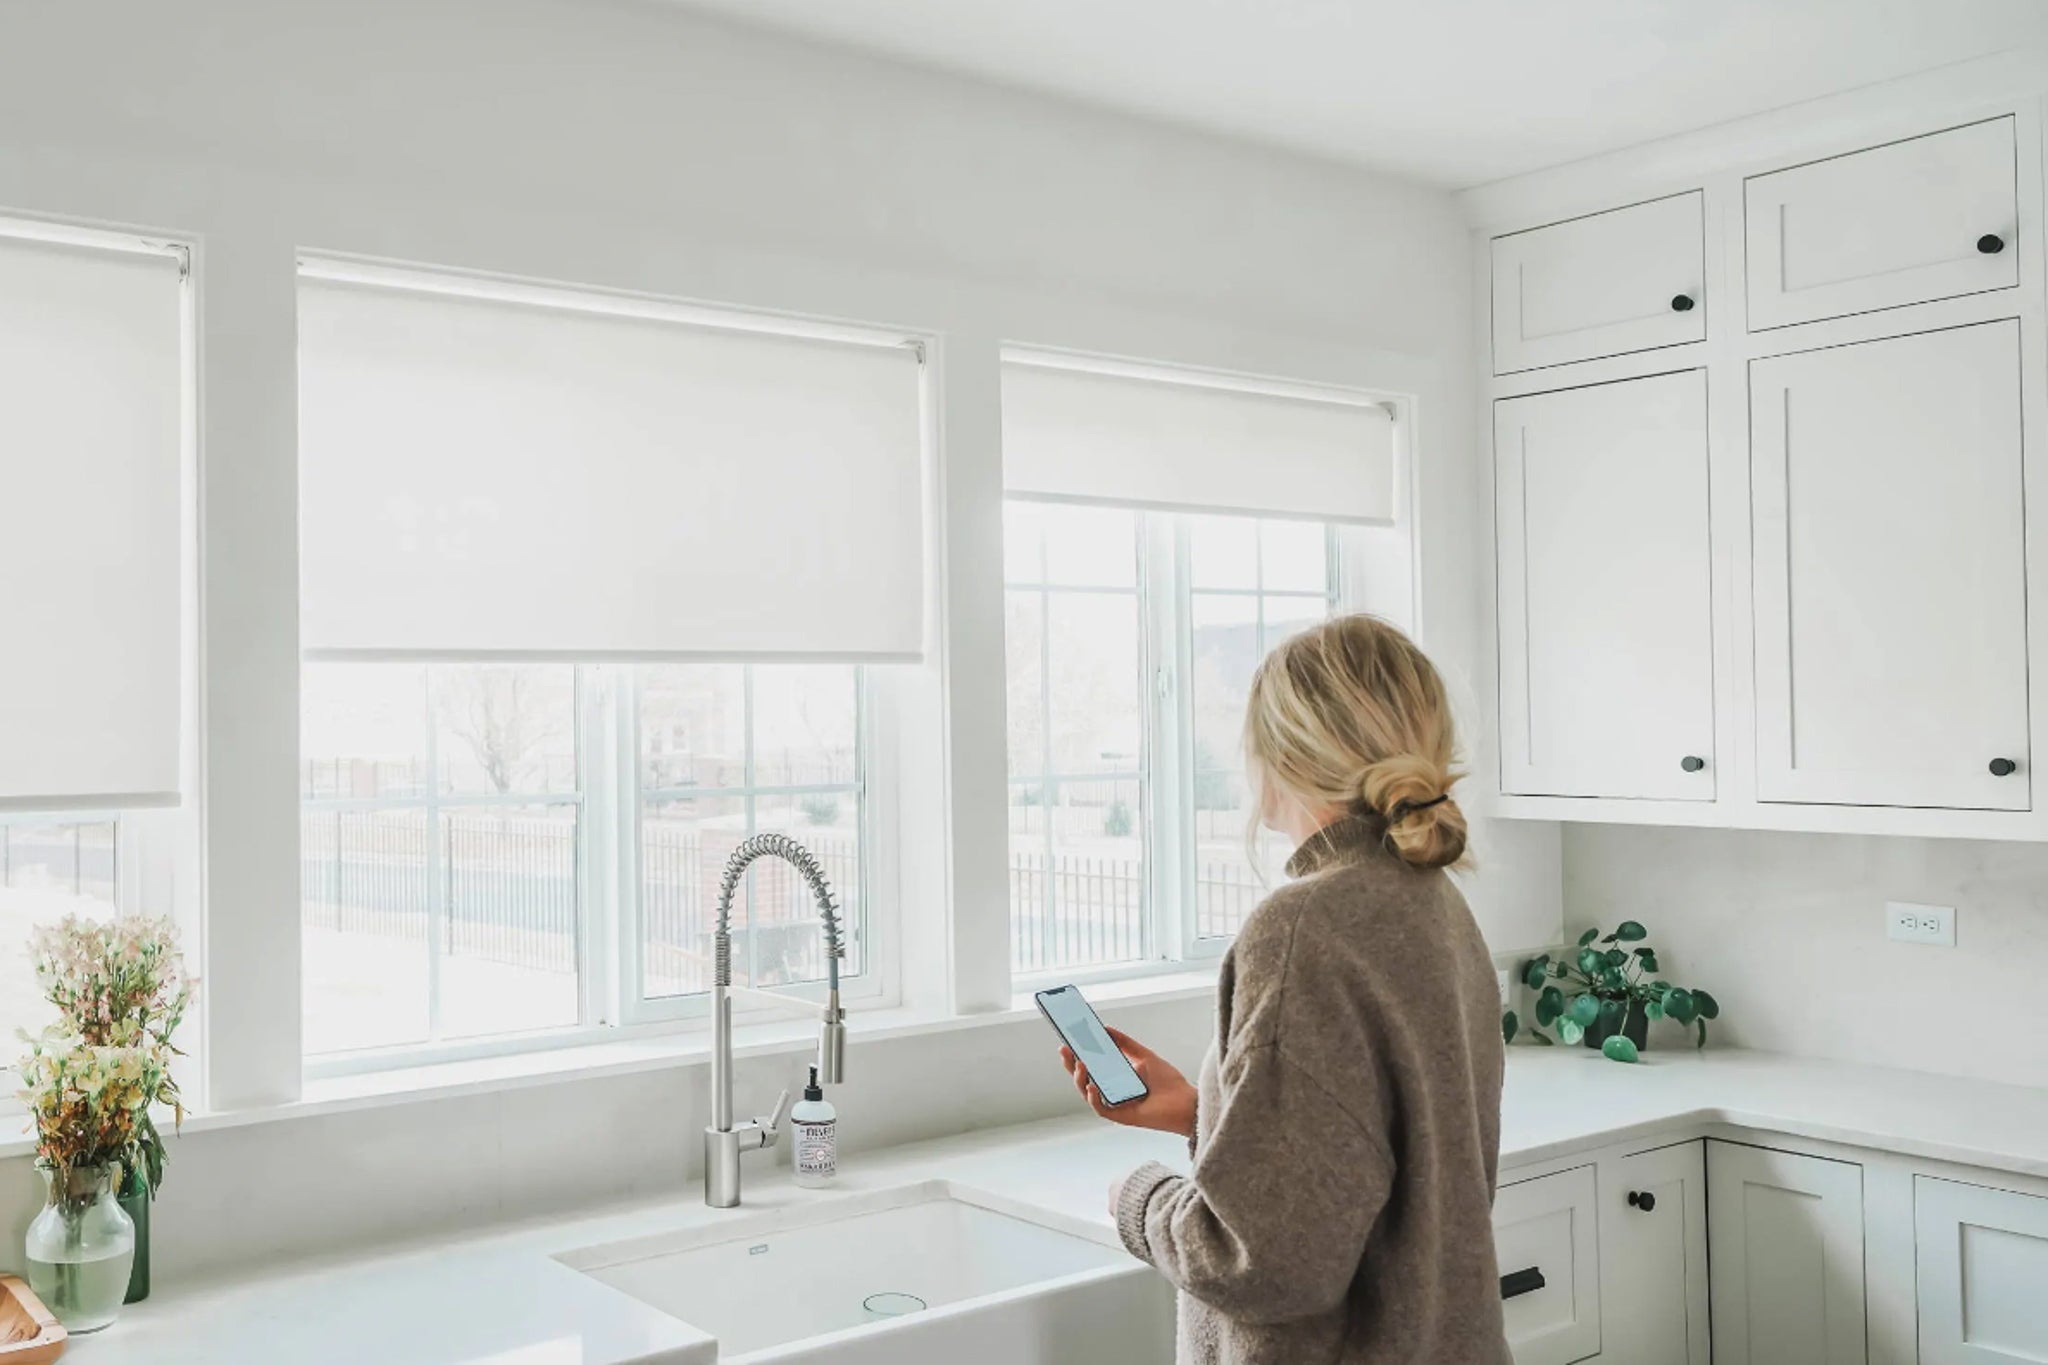
Step 5: Test the Shade Operation
- Use the remote control to test the operation of the shade. Make sure it moves smoothly up and down without obstruction.
- The built-in lithium-ion battery should be fully charged upon delivery, but if needed, use the included charging cable to recharge.
Tip: Make sure to charge your shades occasionally using the provided charging cable to maintain optimal performance.
Step 6: Final Adjustments
- Make any final adjustments to the alignment of the shades. Ensure they are level and operating smoothly.
- Tighten any loose screws and double-check the installation.
Watch Our Step-by-Step Video
Prefer watching a video? Follow along with our easy step-by-step installation tutorial.
Troubleshooting Common Issues
Even with straightforward installation, you might encounter a few issues as you start using your motorized roller shades. This section is designed to help you quickly identify and resolve common problems to ensure smooth and reliable operation. Follow the troubleshooting tips below to address any issues you may encounter. If you need further assistance, don’t hesitate to contact us for support.
Shade is Not Moving Properly
Ensure the shade is securely clipped into the brackets and the remote control is functioning correctly.
Shade Stops Midway
The built-in lithium-ion battery may need recharging. Plug in the charging cable and allow the battery to charge fully.
Remote Control Not Working
Check if the remote batteries are installed correctly and make sure there is no interference between the remote and the shade.
Shade Makes Noise During Operation
Check for any obstructions or debris that might be interfering with the shade’s movement. Ensure that the shade is properly aligned and that the brackets are securely mounted.